1. Find pointy tweezers
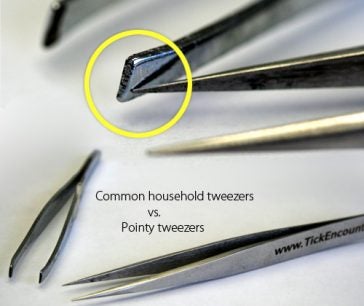
First, let’s state the obvious, ticks are tiny. Household tweezers just aren’t the right tool for proper tick removal. As you can see in the image, there’s a striking difference when compared to tick tweezers.
Unfed adult ticks are about the size of an apple seed; nymph stage ticks are significantly smaller, about the size of a poppy seed. Ticks change in size and appearance as they engorge.
The use of household tweezers increases the chances of squeezing the tick (and any germs residing in the back end) into the host, or tearing the tick during removal, especially tiny nymphs which are active from early April to early August.
2. Disinfect the area
Disinfect the tick-bite area with rubbing alcohol.
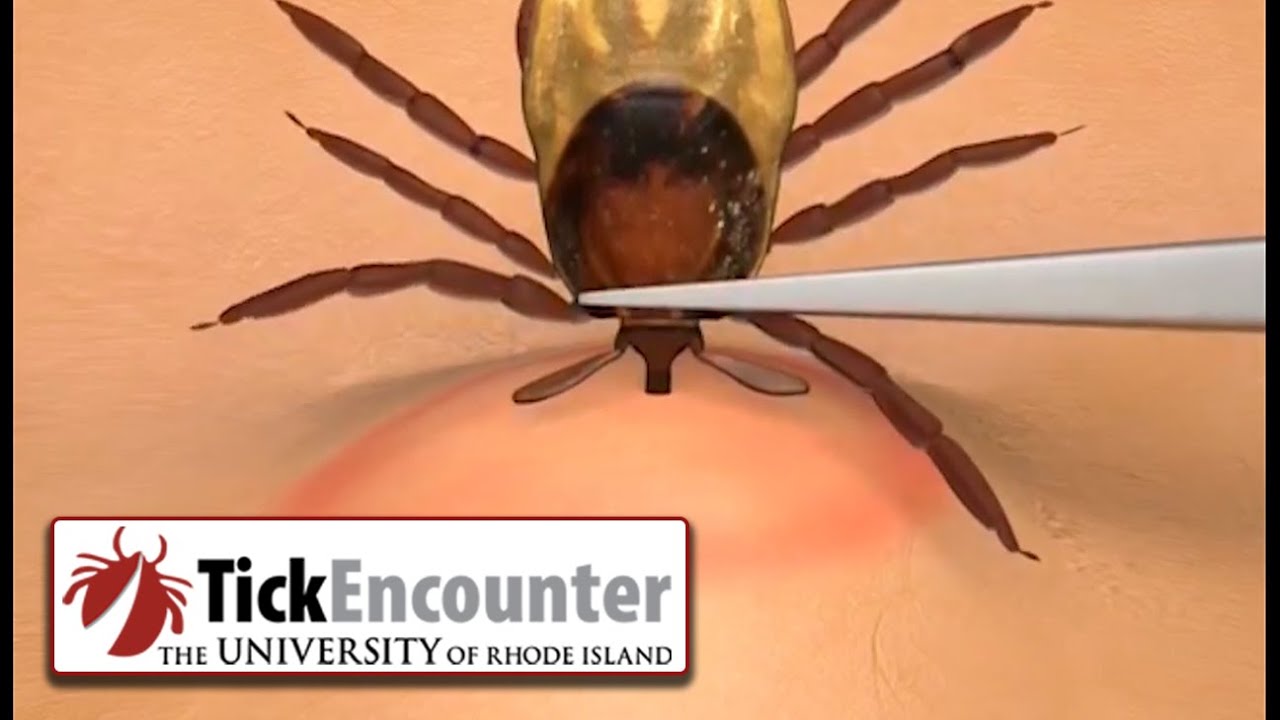
3. Grab the head
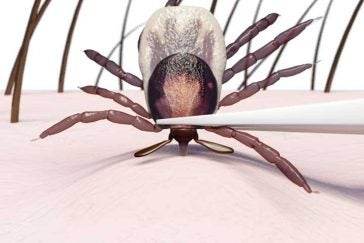
When you’re finished, place your tweezers as close to the skin as possible. With a pointy tweezer you should be able to grab the tick’s head or directly above the head.
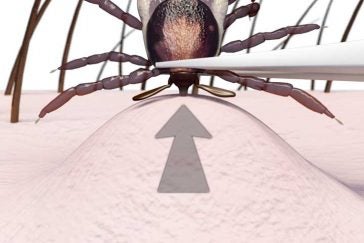
4. Firmly pull straight out
Once you’ve grabbed the tick firmly between your pointy tweezer, the best method is to apply a slow, steady, upwards pull in order to avoid breaking the tick.
You should not be concerned if the tick head breaks off and remains in the skin. Tickborne disease transmission is not possible without the tick’s body.
5. Disinfect again
Once the tick is removed, disinfect the tick-bite area again with rubbing alcohol.
6. Consider testing
Once you have the tick removed, you should consider sending the tick to a lab for testing of tickborne disease. Not all ticks transmit disease-causing germs, but you can use our interactive tool to find out which ones are more likely to.